Modifying Call Forwarding
- From the group dashboard, select the Users tab in the left-hand navigation. Here you will see a list of users assigned to this group/location.
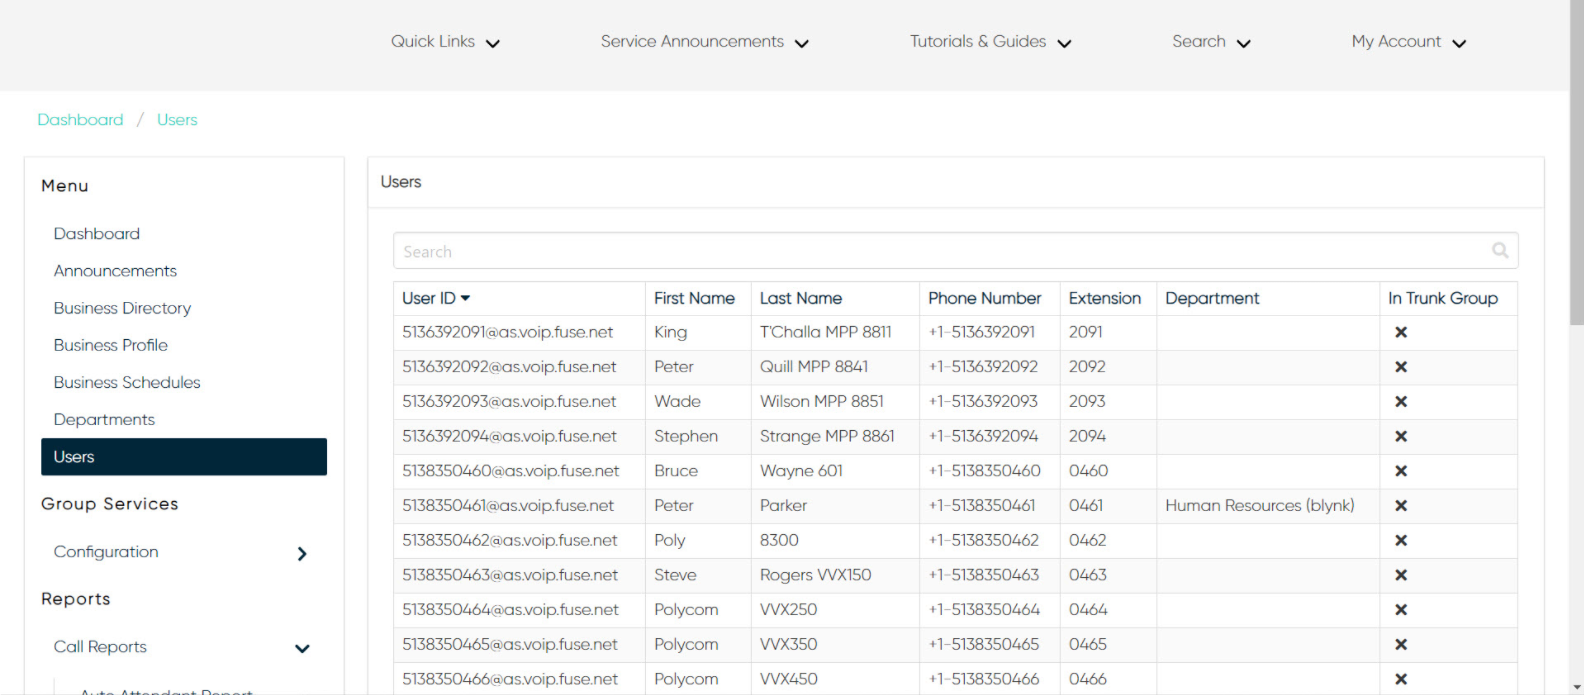
- Select the user you would like to modify the call forwarding settings for. The user’s settings appear, including the call forwarding options available under Calling Features.

- Choose the call forwarding option you would like to enable or modify for the user.
-
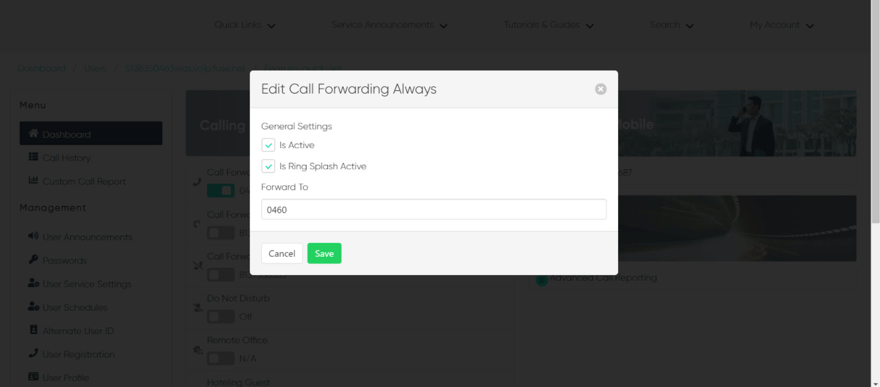
- Call Forward Always - Choose this option to have all calls forwarded to a specific number. To enable, select the toggle. Then select the checkbox next to Is Active. To enable a Ring Splash, check the box next to Is Ring Splash Active. Then enter the number where you would like calls forwarded to. Select Save to save your changes.
- Call Forward Always - Choose this option to have all calls forwarded to a specific number. To enable, select the toggle. Then select the checkbox next to Is Active. To enable a Ring Splash, check the box next to Is Ring Splash Active. Then enter the number where you would like calls forwarded to. Select Save to save your changes.
-
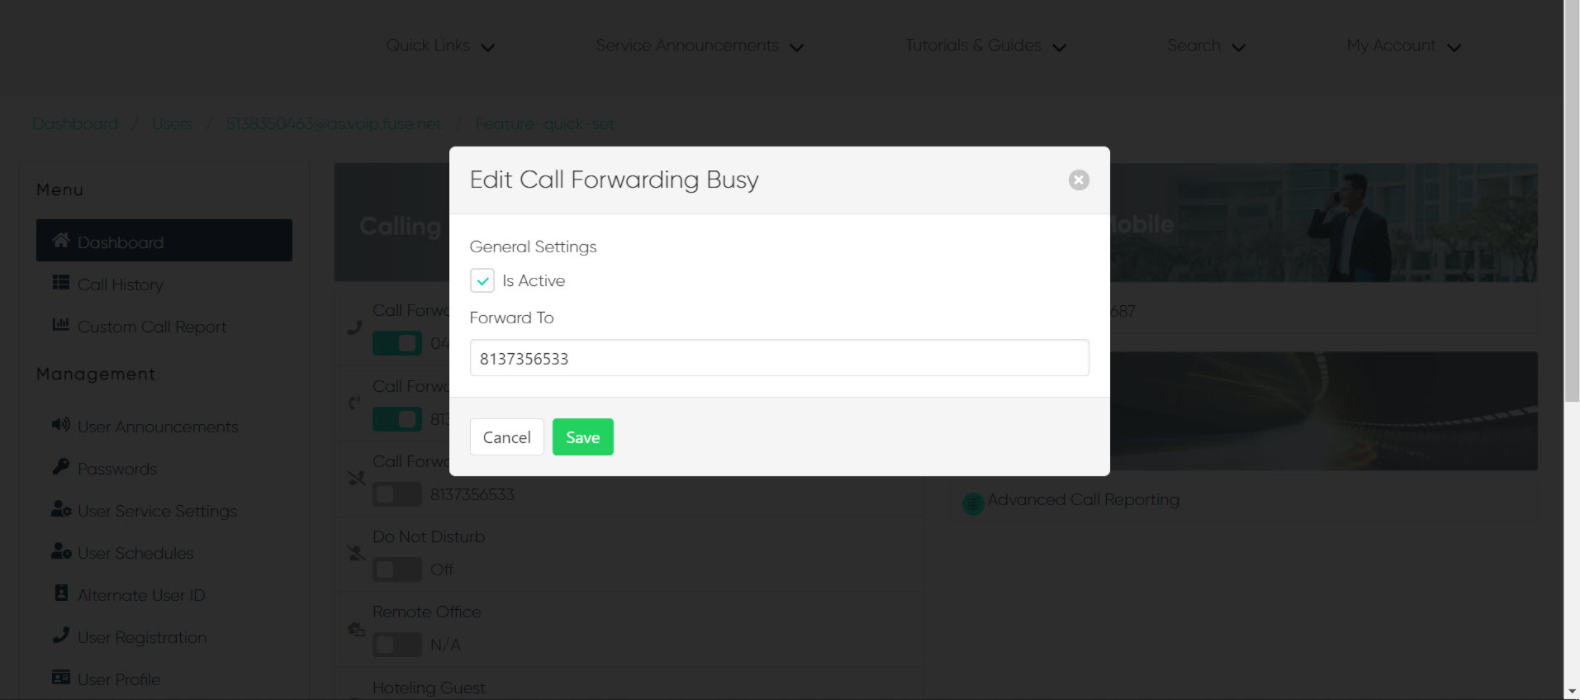
- Call Forwarding Busy - Choose this option to forward calls when the line is busy. To enable, select the toggle. Check the box next to Is Active. Then enter the number where you would like calls forwarded to. Select Save to save your changes.
- Call Forwarding Busy - Choose this option to forward calls when the line is busy. To enable, select the toggle. Check the box next to Is Active. Then enter the number where you would like calls forwarded to. Select Save to save your changes.
-
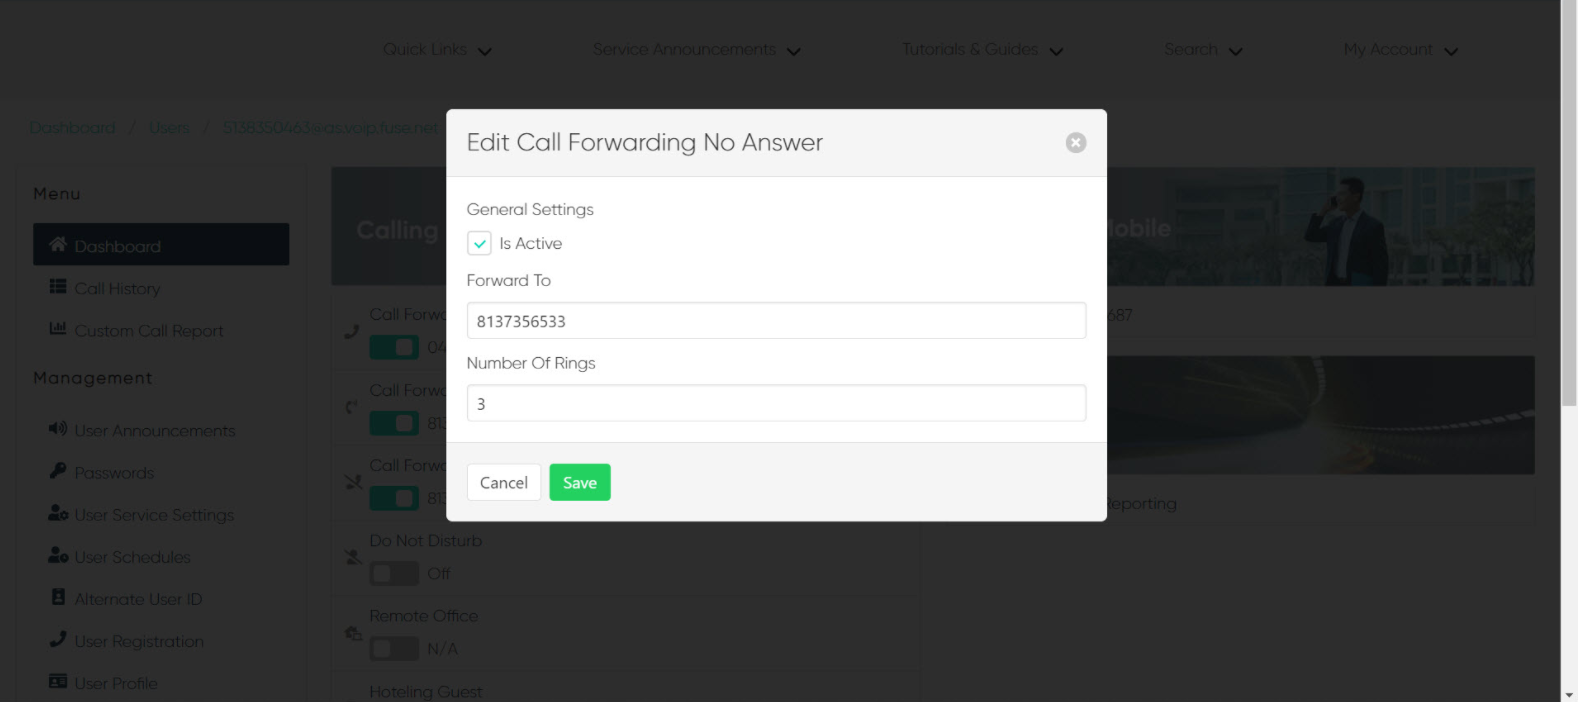
- Call Forwarding No Answer - Choose this option to forward when the call exceeds a set number of rings. To enable, select the toggle. Check the box next to Is Active. Enter the number where you would like calls forwarded to. Enter the Number Of Rings. Once a call exceeds this number of rings, it will be forwarded to the phone number entered. Select Save to save your changes.
- Call Forwarding No Answer - Choose this option to forward when the call exceeds a set number of rings. To enable, select the toggle. Check the box next to Is Active. Enter the number where you would like calls forwarded to. Enter the Number Of Rings. Once a call exceeds this number of rings, it will be forwarded to the phone number entered. Select Save to save your changes.